Initiative Settings – Profiles
Note: This is an archived page. Please reference our Knowledge Base for current support documentation.
Index
- EasyAutoTagging Overview
- Creating Initiatives
- Initiatives Settings – Tags
- Initiative Settings – Profiles
- Initiative Settings – Data Import
- Use Cases
Profiles [URL Parameters]
Profiles are in place to ensure consistency across teams, and users allowing you to define URL parameters for your Facebook ads. You can use either static or dynamic values.
Static values: Static values are user-defined static text values, for example, CPC for medium. This user-defined value is then used for the medium URL Parameter field across all Facebook Ads.
Dynamic values: For dynamic values EAT dynamically pulls respective Facebook values. For example, if the dynamic value ‘Campaign Name’ is used for the URL Parameter field Campaign Name EAT will populate the URL Parameter field for each Facebook Ad using its respective Facebook campaign name.

You can only apply one profile to each initiative. If it happens that you want to use different URL Parameter tagging definitions within one Facebook Ad account you would need to create multiple initiatives.
Accessing Profiles
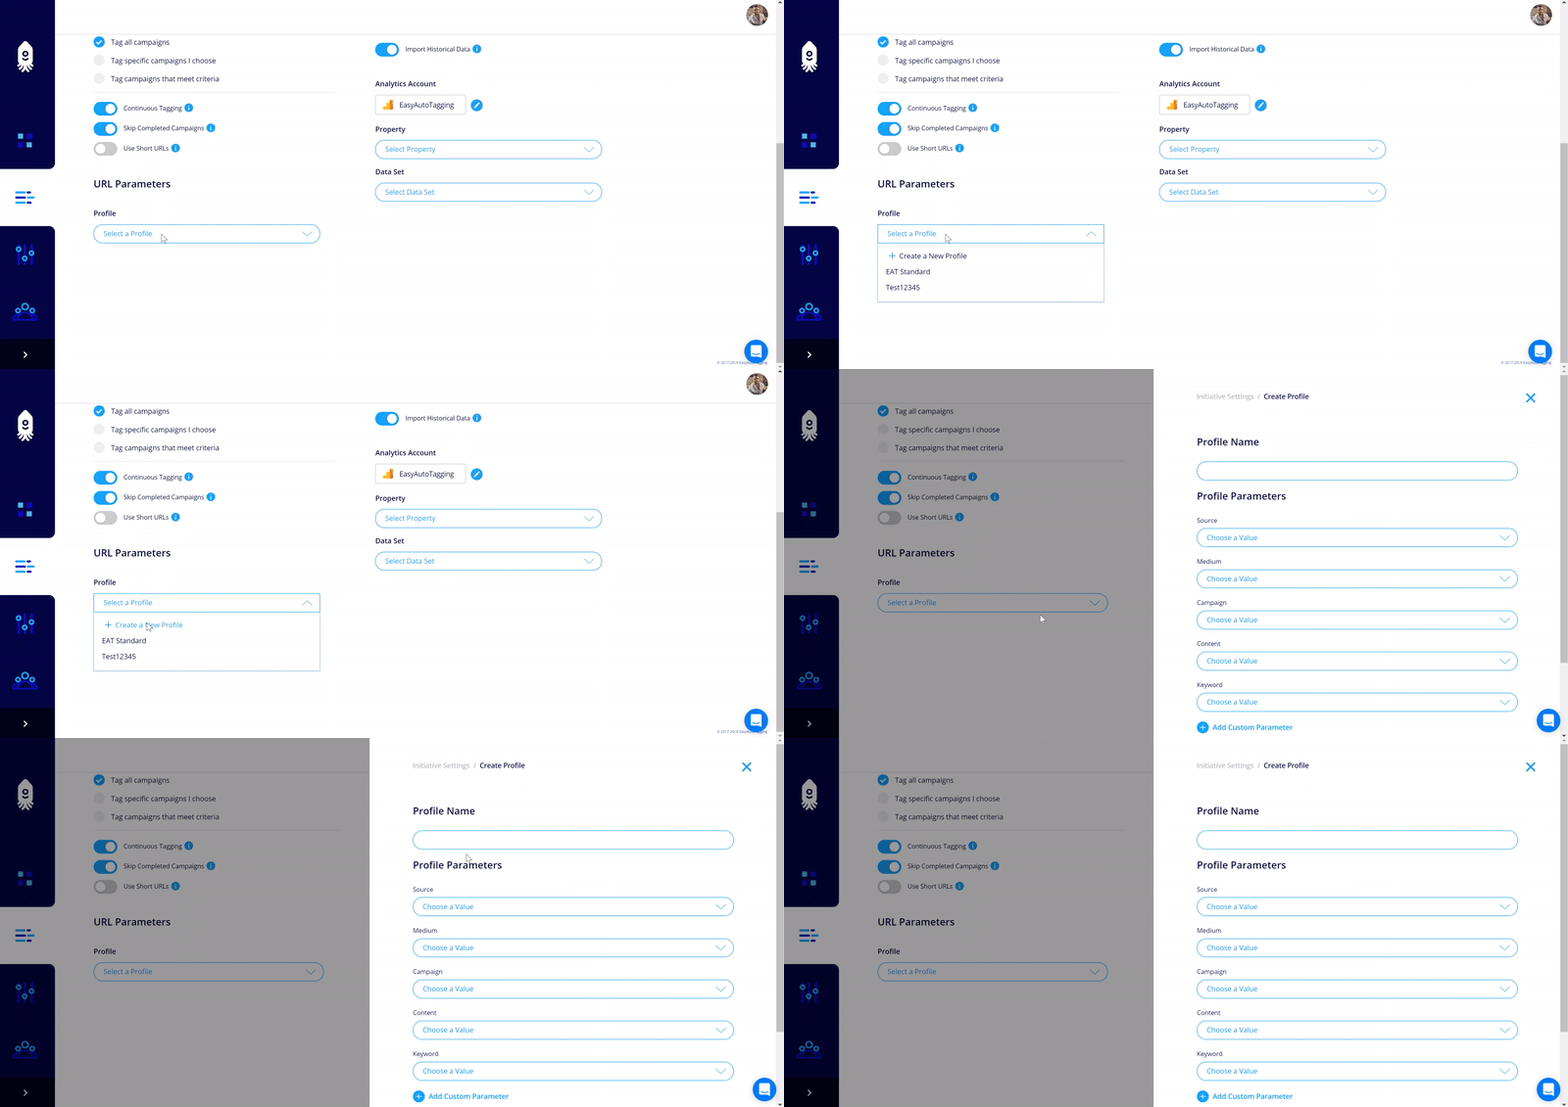
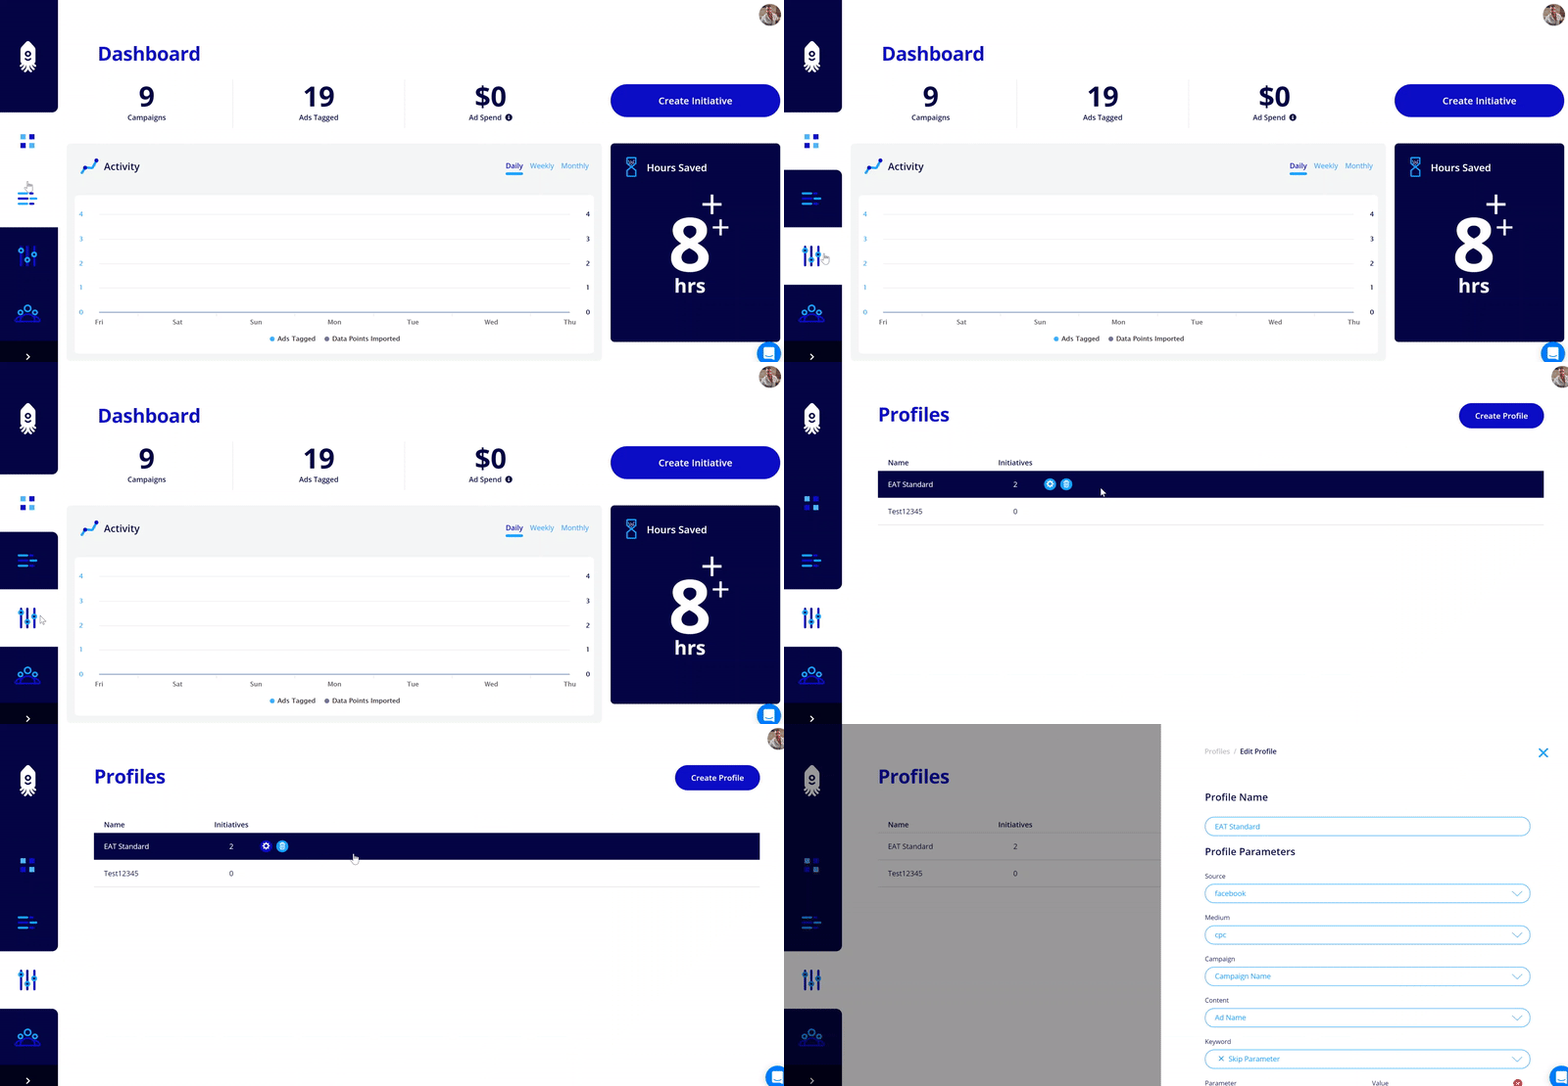
You can select an existing profile or create a new one within your initiatives. You can also access Profiles from the dashboard to manage edit and delete Profiles.

Creating Profiles
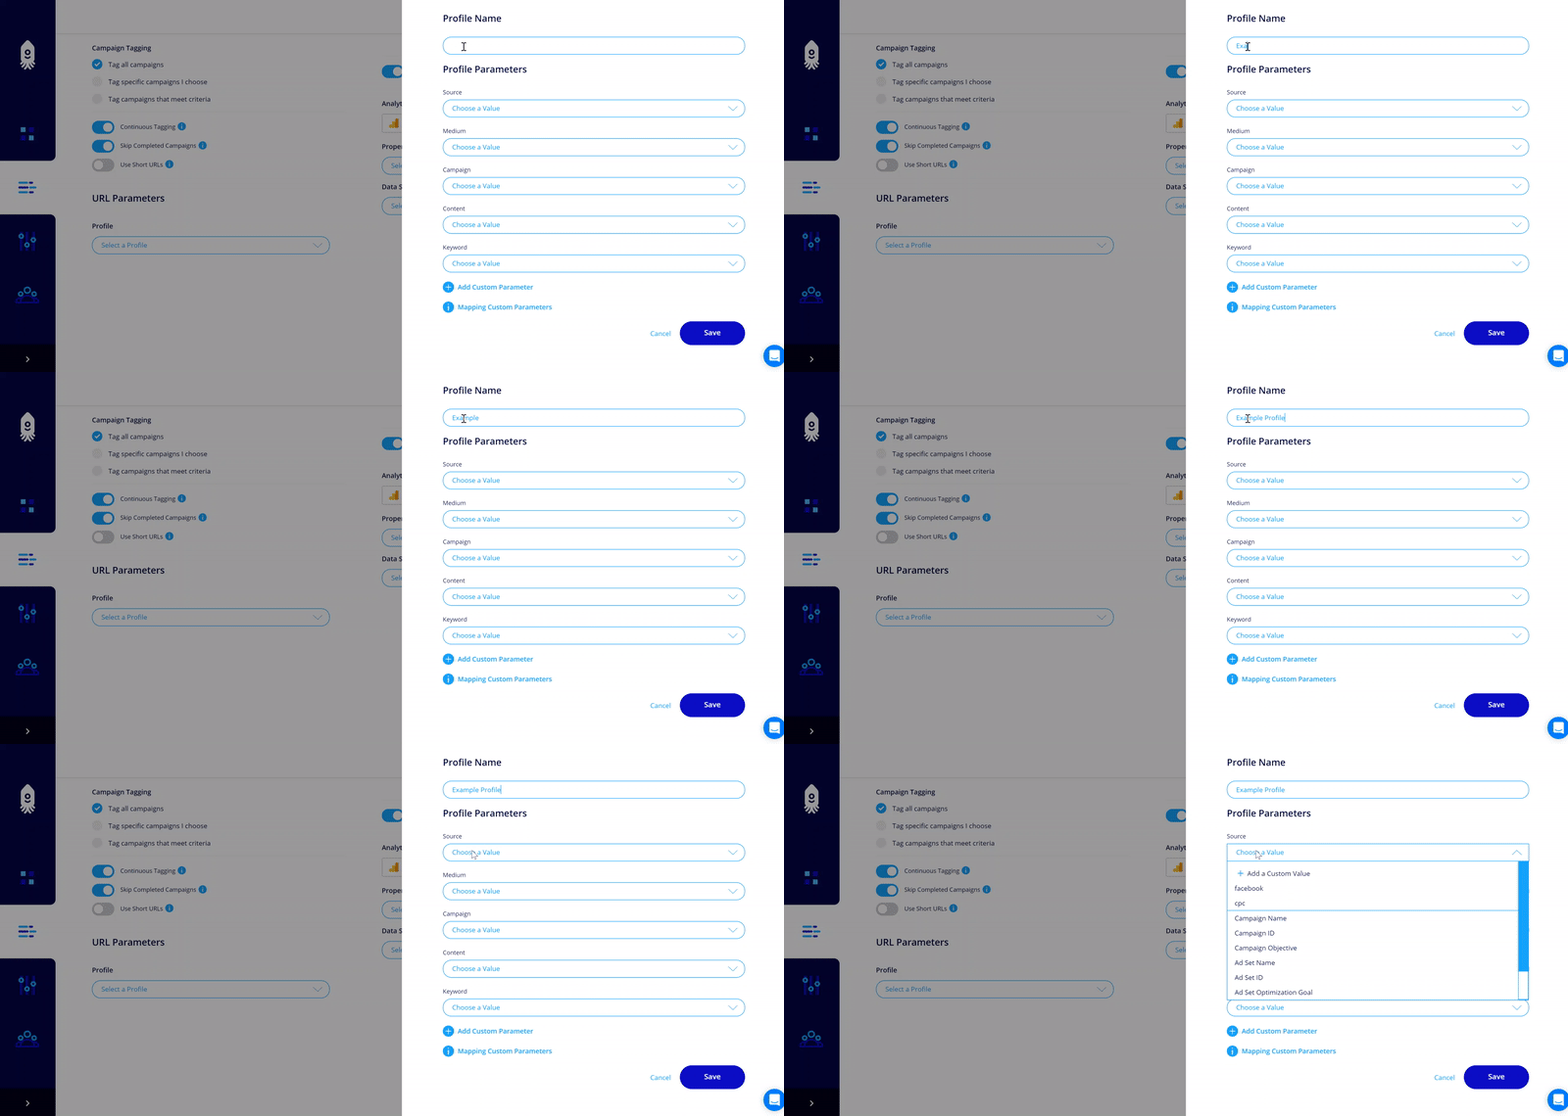
Once you are ready to create your profiles, you can define the values you want EAT to assign to each parameter.
EAT by default has the five standard parameters:
utm_source
utm_medium
utm_campaign
utm_content
utm_keyword (optional)
Each one of these values will populate default dimensions in Google Analytics as follows:
source = source
medium = medium
campaign = campaign
content = ad content
keyword = keyword (optional)
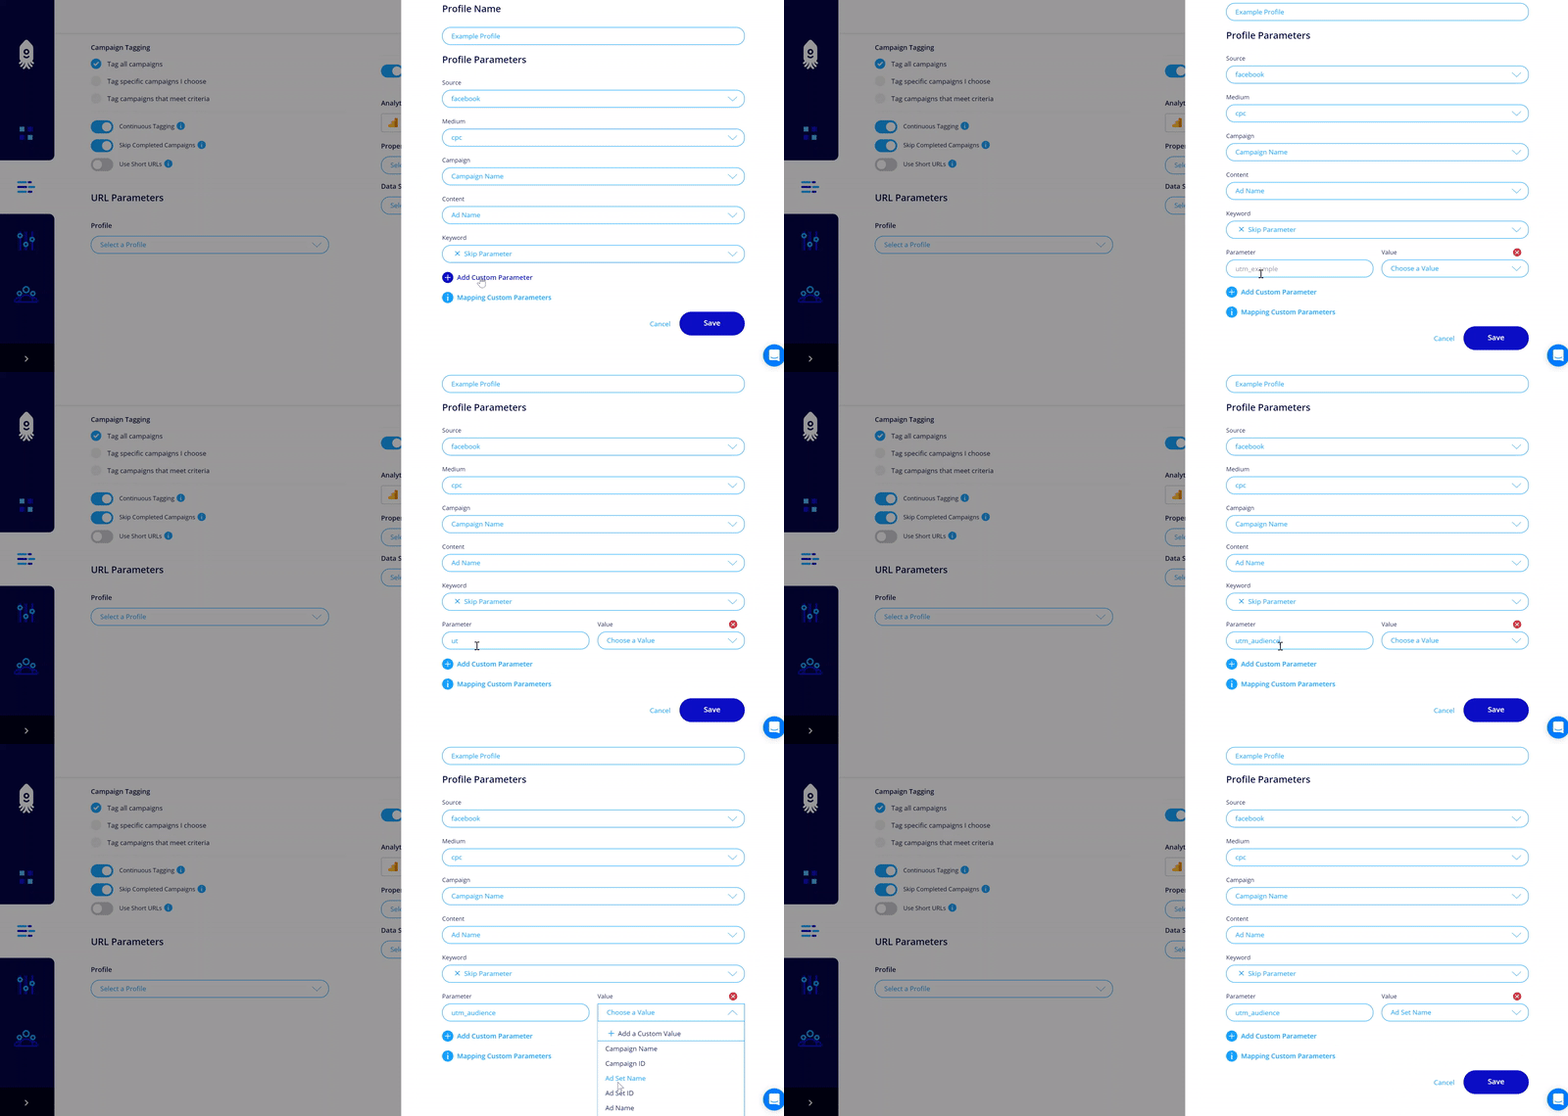
You can define custom values or pull in dynamic values for each of these parameters.

Note: EAT does have the option of creating custom parameters. However, to pass these to a custom dimension to Google Analytics takes a couple of additional steps. See: Mapping Custom Parameters to Custom Dimensions

Once you have defined your URL Parameters, you can save the profile and apply it to your current and any future initiatives.
Next: Learn how to configure Data Imports
Leave a comment